-
Poppy Progress
That was very quick, but I still have to quilt it. I only started it on Monday!
I decided that the reason I like this technique so much more than cutting curved pieces and trying to sew them together, is that this technique is precise. All straight lines.
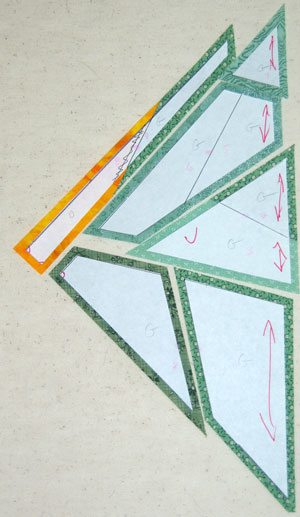
You make two copies of the drawing on freezer paper. One is preserved and the other cut up into sections and pieces. Here are the pieces of the last section pressed/ironed on to the front side of the fabric. You cut 1/4″ seam allowance on all sides of each piece.
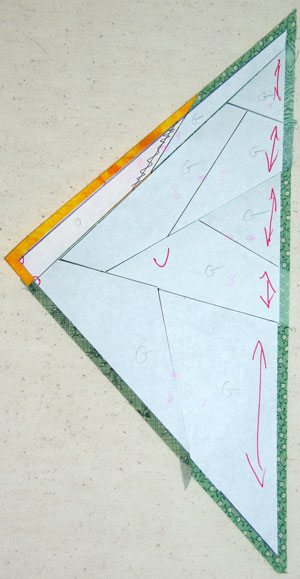
Sew the pieces together, in order.
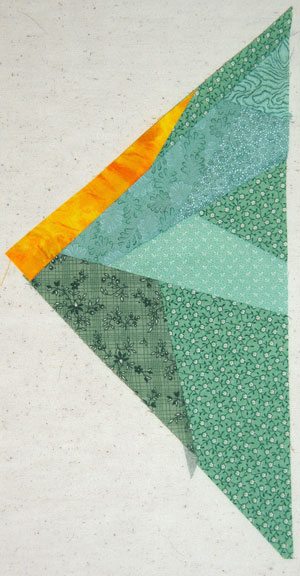
Remove paper.
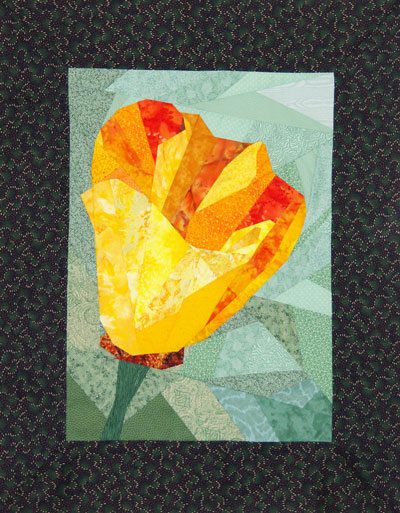
Here is the finished quilt top with the border. I did learn that all the edge pieces, should be on the straight grain of the fabric, because I didn’t pay attention to this detail, one edge was very unstable, but the border strips hold it in line.
I am pleased with the way the petals look like they curl. I really had to pay attention to the fabrics to achieve that look.
It measures approximately 18″x24″ without the border.
Tags: batik


This is beautiful. Nice job finishing your quilt. Gin
Thank you! It was great to get it this far!
LIKE IT!!!
Thanks, glad you like, just need to get it quilted!