
-
UFO 2-New Waistbands
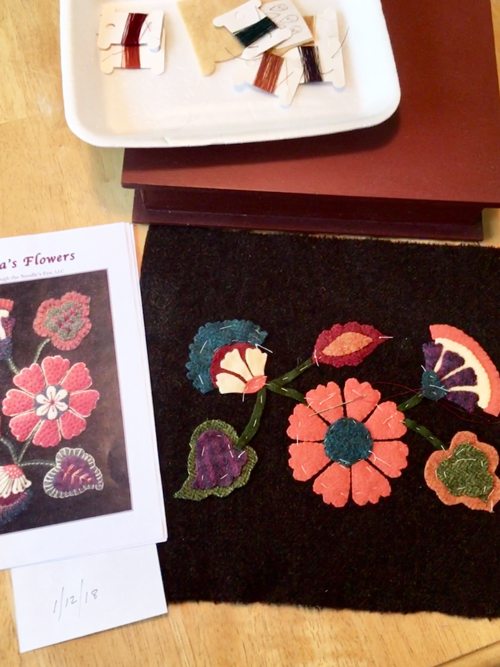
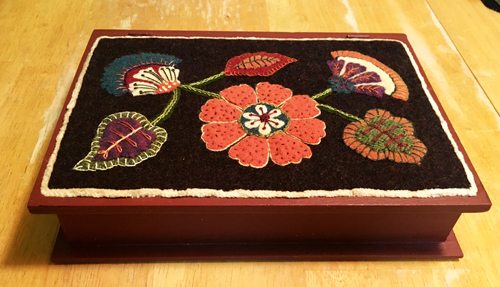
We have our first sharing of an Un-Finished Object! Mary H. sent me photos of a box that she will tell us more about in the comments. Isn’t it exquisite? Thank you, Mary.
Since photos/images can’t be sent through the website, go to Stay in Touch to contact me. Let me know you want to send photos and I will send you my email address. If you are on Facebook, you can also attach photos through messenger. That may take a little back and forth as well. Somehow we will get this all figured out.
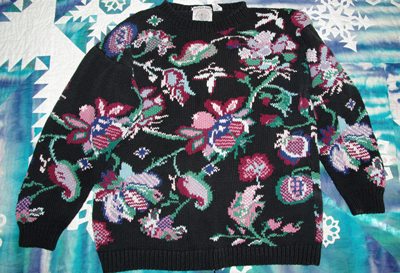
I also have two other UFOs done and out of the way. The first is a sweater that I have not worn for a few winters, simply because I didn’t take the time to repair it.
The ends of the knitting were unraveling around the flowers and there was a large hole in one of the sleeves. So I put on my iPod and took an hour or so to get my favorite winter sweater back into wearable condition. Just taking the time was so rewarding!
Waistband Tutorial
This tutorial does not have much to do with quilting, but it might help you save some money. Many of you probably have done this many times, but there may be one or two of you who have not done this before, so hopefully, this will be helpful.
It takes a little time, but is worth it in the end. I hate shopping, especially for clothes. I usually purchase several of whatever I am looking for and make those last a long time.
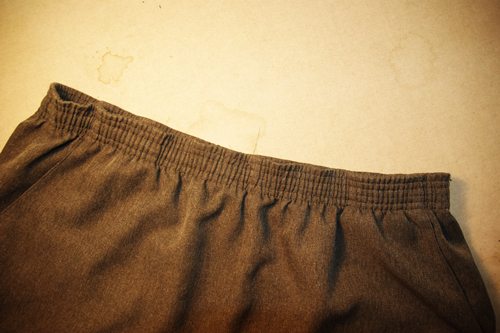
In 2003 we were on the east coast and came across a tremendous sale on clothing at a local department store. I tried on a pair of pants and they fit me perfectly. I am short and usually have to shorten pants. Not this time. So I purchased six pairs of pants in three colors. The elastic has finally given out in all of them, but the fabric is still in great condition. Not about to throw them away!
 For this tutorial you will need:
- Pants or skirt that need new elastic
- Scissors and/or seam ripper
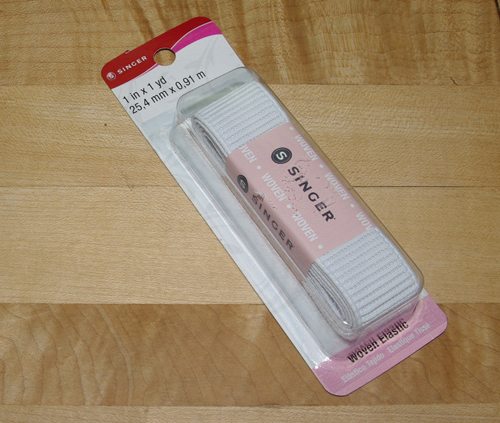
- 1″ or 3/4″ wide non-roll elastic
- Straight pins and several safety pins, plus an extra-large safety pin
- Matching thread to your garment fabric
- Iron with steam or pressing cloth
- Sewing machine (serger if available) and basic sewing tools and supplies
- Time to do the task!
Here is how I went about replacing the elastic. For less than $1.50 per pair and a few hours one afternoon, I saved quite a bit not having to purchase new pants. The most tedious part of the process is removing the old elastic from the waistband.
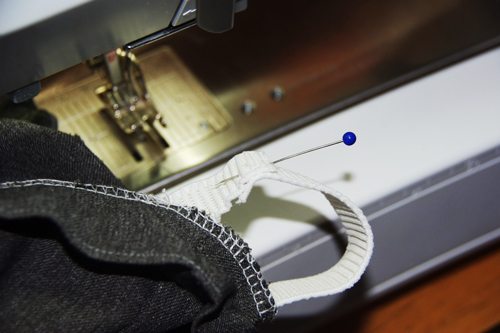
For these pants, I used 1″ wide non-roll elastic but 3/4″ would also work. Either one should be available at your local fabric store. Fortunately, our local quilt store carries notions, because our town is out in the country.
This elastic is not as wide as the one I removed, but that doesn’t matter because the waistband is still the same width. Notice that the elastic appears to be ribbed, which keeps it from rolling and is different from the elastic that you just removed.
Most commercial pants have the elastic sewn in and at least six seams are used. On the outside, you see five seams, but once those are removed there is the last one which is a serged seam. So put on some music or your favorite podcast, get out your seam ripper, and get to work.
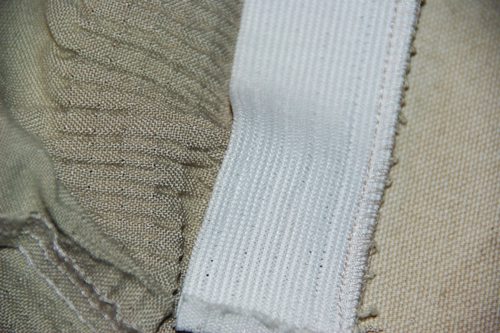
A two-thread chain stitch is usually used for these seams and if you are lucky you will find the beginning. All you have to do is pull the thread and it will come undone. Start unpicking in one direction and occasionally pull on the thread. If you have unpicked approximately 1-2″ and it isn’t pulling free, start unpicking in the other direction. The serged seam is another story.
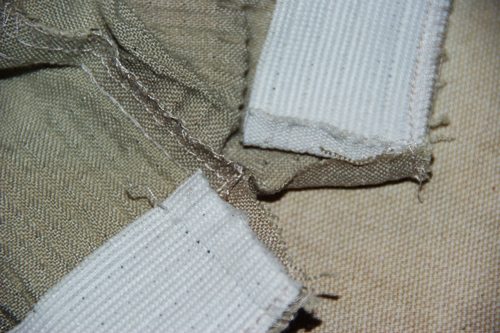
After the first pair of pants that was my clue to the direction to start picking and the last five went more quickly. Most of the time the elastic is put in as a whole piece, but in the two tan pants, it was sewn into the back seam, so I had to do a little extra work to close the seam after removing the elastic, but that wasn’t a big deal. Just sew on along the original seam line, press and you are done with that part. Don’t bother overcasting the seam allowances because they will be inside the waistband.
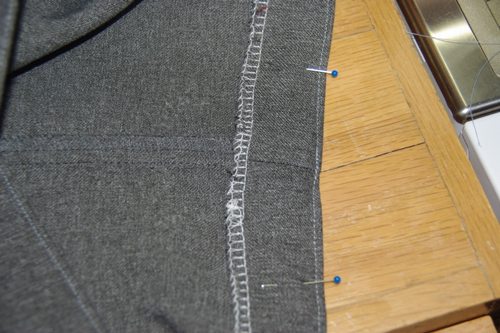
Once you have removed the old elastic, press the former waistband open with steam or a pressing cloth to remove the creases. This area should be as flat as possible. Then overcast the raw edges with a serger or overcast stitch on your regular machine.
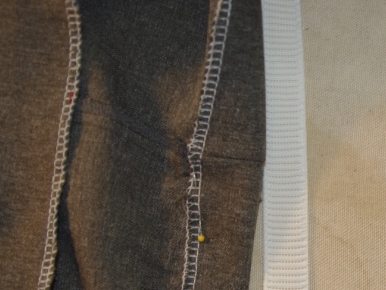
Fold over the overcast edge 1/2″ wider than your elastic. So for a 1″ elastic fold 1-1/2″ for 3/4″ elastic fold 1-1/4″. Measure and pin all the way around.
Press the fold and take it to your regular sewing machine. We are going to make two straight seams, so put the serger away if you used it. I used my 1/4″ foot because it has a 1/8″ measurement. You could use a regular zigzag foot and move the needle over. However you do it, you want to sew 1/8″ from the edge all the way around in matching thread.
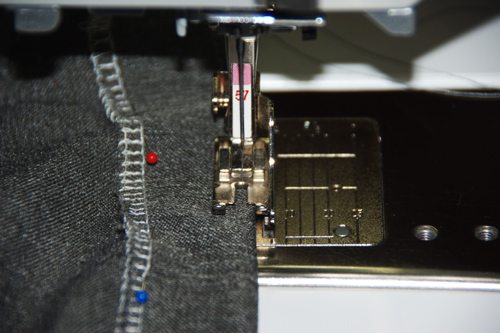
At the back of your pants place a pin 2″ on either side of the back seam for the opening of the casing. Now sew through the center of the overcast edge starting with a backstitch at one pin and sew around stop and backstitch at the other pin to leave the opening.
Wrap the new elastic around your waist and tighten it to fit snugly and comfortably. You might want to safety pin it and see how easy it is to remove. Cut off the piece where you measured it.
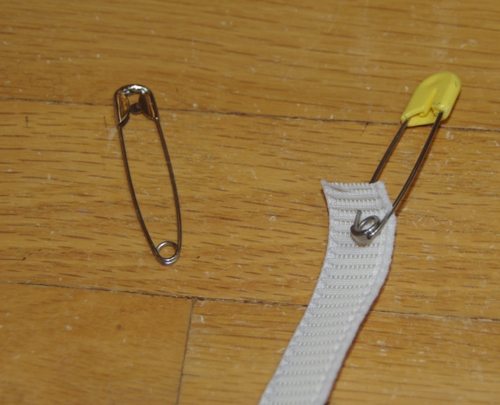
Attach a large safety pin, or if you happen to still have a diaper pin (mine is 45 years old) to one end of the elastic.
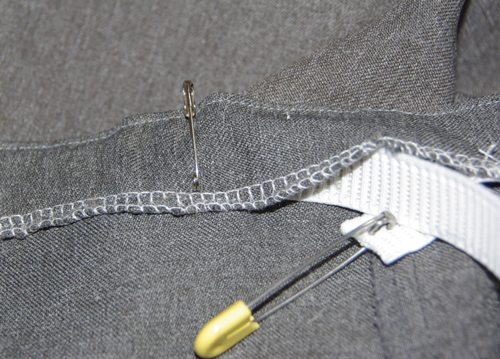
 Slip the safety pin into the waistband casing, as you pull it through, before you get to the other side, safety pin the end in place. This will keep you from accidentally pulling the elastic too far. Ask me how I know this!
As you are pulling it through, do not let the elastic twist, make sure it stays flat as you come around to the other side of the opening. I suggest you pull a little extra out on both sides and place a safety pin on both sides.
 Double check that the elastic is flat all the way around the waistband. Now bring the edges together, and safety pin together. Try on the pants. This is the time when you can see if you need to make the elastic a little more snug.
If for some reason you made it too tight, you can add a piece of elastic by overlapping the edges to the larger piece and sew with a zigzag stitch.
If it fits fine, replace the safety pin with a straight pin and slip under the foot of the sewing machine with straight or zigzag stitches stitch the ends together.
Remove from the machine and sew the opening closed.
All done. Enjoy your “new” garment! If you have any questions or if this was helpful, please comment below.
Click on the title “2018 Alphabet Block of the Month” below to take you to the page with the 2018 blocks.
2018 Block of the Month
Tags: alphabet, appliqué, batik, block-of-the-month, BOM, fabric, flowers


I ordered the kit for the covered box as a birthday treat in 2016. I started it and realized there was wool missing. The shop sent me new wool, but it never arrived. By the time they shipped wool again the project had been buried. This is the year of the unfinished project for me. I started with a small project so it would be easy to accomplish a finish. I really enjoyed doing all the embellishments on the wool. Next up is a baby quilt that has been sitting for at least five years.
Thank you for sharing Mary. Look forward to seeing that baby quilt.
Thanks for this tutorial. It used to be (in the dark ages) that the elastic wasn’t stitched down and you could just open the back waist seam, remove the old elastic and insert a new one, then sew it closed again. Now maybe I won’t have to get rid of any more pants.
Susan, I am so glad this was helpful! My problem is taking the time to “just do it!” It was very gratifying once it was all done.