
-
Scrunchie or Scrunchy?
Is it a scrunchie or a scrunchy? My spellchecker says it ends with a “y”! If you don’t know what that is, it is a ponytail wrapper that is all the rage with teenagers!

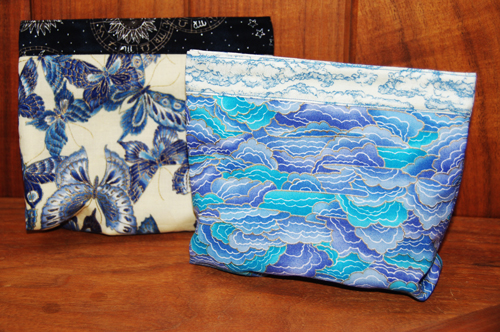
My grand-daughter stayed with us for three weeks in July so we were busy going places with her and doing crafty sewing projects, which included the scrunchies, two snap purses for her and one for my iPod and phone, click on either photo to take you to the Snap Bag tutorial. She was so intrigued that I used a metal measuring tape for the closures. She thought I was using magnets.

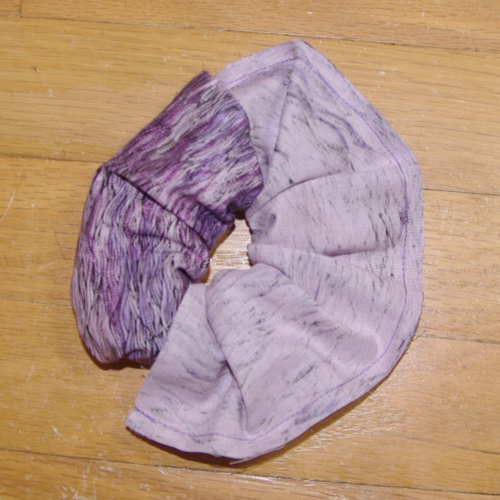
Basketful of Scrunchies
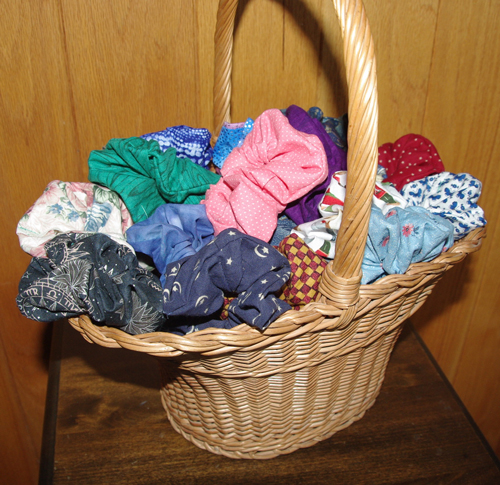
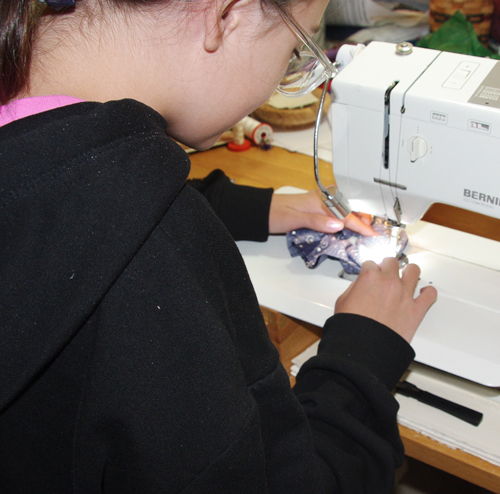
Since she has long hair, we also made lots of scrunchies together. We used the heavy elastic hair ties by Goody® called “ouchless” instead of thin elastic because the hair ties stand up to more use. It took a little playing around to figure out how to insert the heavy elastic commercial hair ties inside a fabric tube. We also used up lots of scraps of fabric because we tried different widths and lengths of fabric. It takes about 15-20 minutes to make one, most of the time is spent pinning and turning. Since they were for her, I put her to work making them. It was a great way to teach her how to use the sewing machine.
Here is what you need to make one scrunchy:
- ONE commercial hair tie and ONE strip of fabric 5”x22”. If you have a full width of fabric you can make two from a 5” strip cut across the full width. If you have scraps and the fabric is thin, the strip can be up to 28″ long.
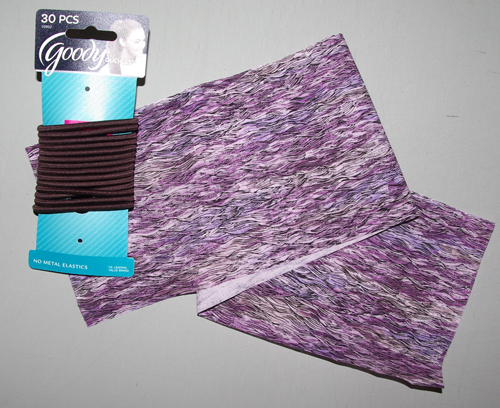
- Matching thread and sewing machine (If you prefer, this can be sewn by hand but will take longer to make!)
- If both ends are a raw edge, sew a 1/4” hem at one short end of the strip, which is not needed if one end is the selvage.
- Fold the strip of fabric in half, WRONG sides together. Then gather it in your hand and slip through the tie, so the tie is at the center.
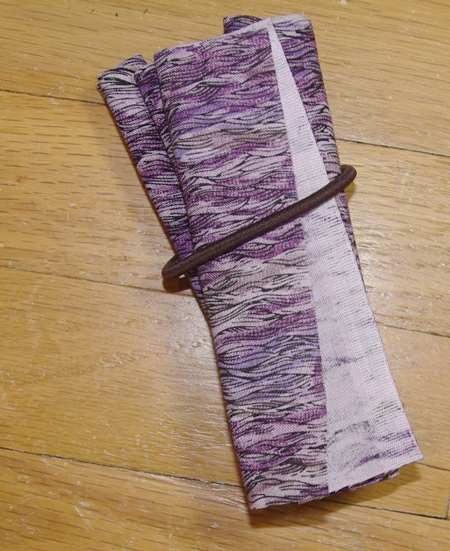
- You are sewing the rectangle into a tube with the hair tie inside. This part is a little tricky and takes some manipulation of the fabric.
- Starting at the hemmed/selvage end, fold the fabric over the tie, RIGHT sides together. Pin the long raw edges together at both ends.
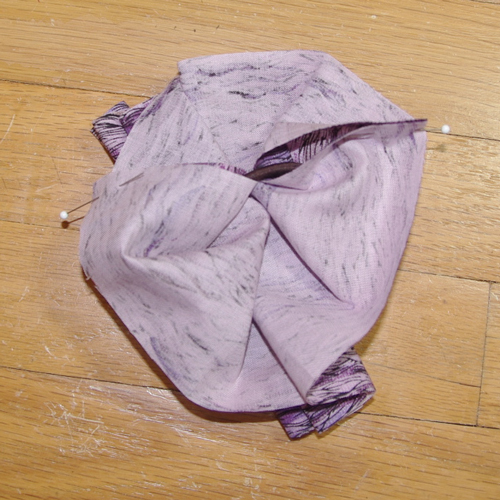
- Then pin along the raw edges between the two ends. (I know what you are thinking, how is this going to work with the wrong side out. Just trust me on this one!)
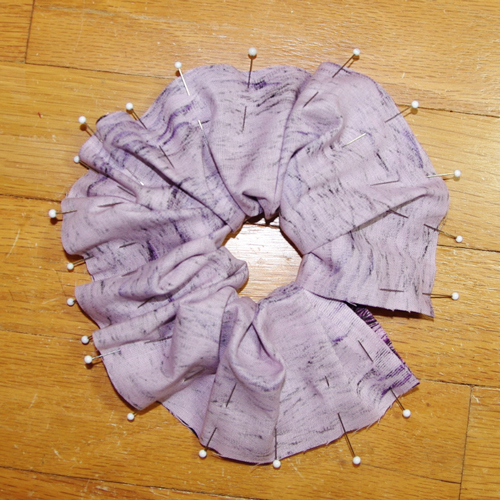
- Now sew a 1/4” seam from one end to the other, starting and stopping with backstitching at both ends.
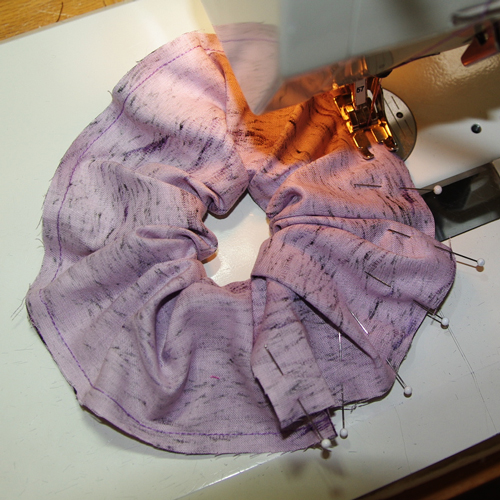
- Remove from machine and turn the tube, right side out, pulling the selvage or hemmed end over itself.
- When it is turned, slip the unhemmed/raw end about 1/2” inside the hemmed end. Sew about 1/2” tacking stitches through all the layers to hold the ends in place. The black arrow is pointing to the tacking and it can barely be seen, if you use matching thread.

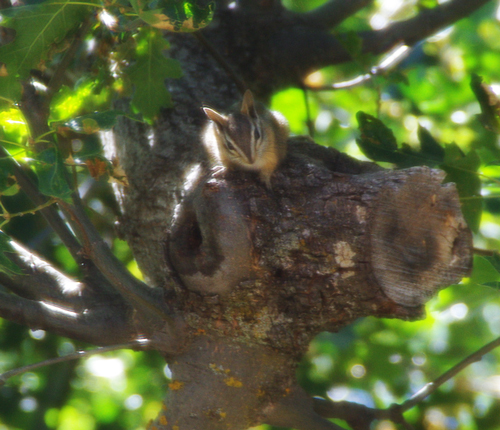
While we were busy sewing, we heard the strangest sound in the oak tree outside my studio. I didn’t recognize it and wondered what kind of bird it was. Very strange bird indeed, at least 20 feet up from the ground! Since there aren’t any acorns yet, I can’t imagine what this chipmunk was after.
**************************************
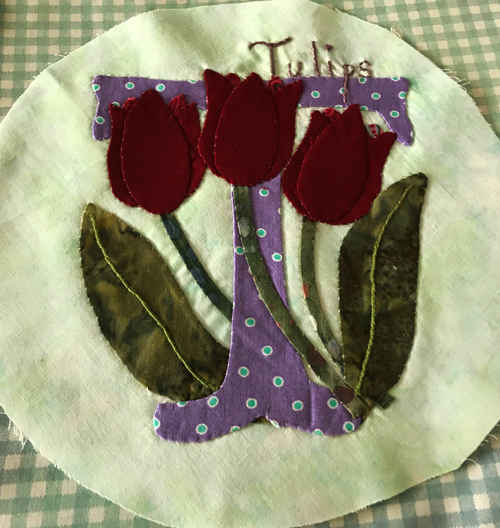
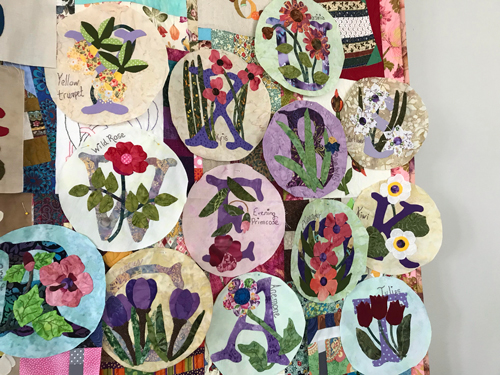
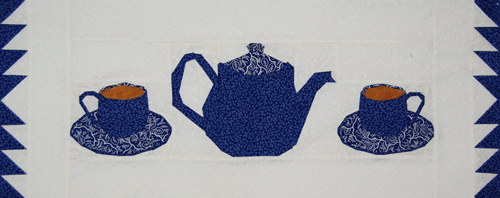
Betsy shared a picture of the tulip block which is the latest one, as well as a pic of all of them. She has an interesting idea for making them into a quilt. Can’t wait to see how it turns out!
**************************************
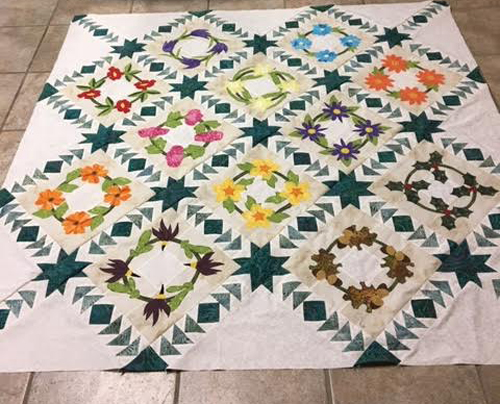
And here is a picture of Wreath of Flowers from Jennifer S. Her email heading was “No borders on yet.” She shared some blocks with us a few years ago. As a school teacher, she spends her summer vacations quilting.
Really appreciate the shares! How about sharing some of your blocks?
**************************************
Have you ever wondered how your sewing machine actually works? I came across this GIF and thought it was a very clever way to illustrate something we don’t usually think about.
**************************************
So excited, I have received the Northcott fabrics for my nursery rhyme row! Now just have to get it done before the Row-Along starts in September! Here are the ones I have made for the past Row-Alongs if you are new to my blog. If you are interested, the patterns are available at Payhip, just click on the picture.

Click on the link below to take you to the second part of Fall ‘n’ Leaves:
2019 Block of the Month

Tags: appliqué, block-of-the-month, Electric Quilt, scrunchie, scrunchies, scrunchy, snap bag
- ONE commercial hair tie and ONE strip of fabric 5”x22”. If you have a full width of fabric you can make two from a 5” strip cut across the full width. If you have scraps and the fabric is thin, the strip can be up to 28″ long.


