
-
Making Vines and Stems
Finally all of the 2010 Block of the Month are together. At first it was called Starflowers, but now I am calling it Stars ‘n’ Flowers. Do you see the larger star around the star block? You might not see it right away, because the flowers are appliqued over the points and it kind of fades into the background. The large star will protrude into the border when it is all finished.
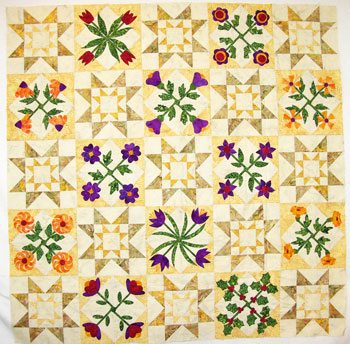
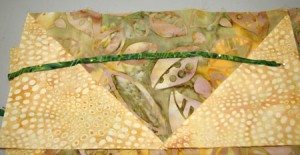
I changed my mind on how the border is going to look. Originally, can’t leave anything alone, there were going to be sixteen flowers in the border, but after appliqueing one I decided that I preferred to have one flower on each side with three buds, one more open than the other. This is a close up of it.

Stars ‘n’ Flowers border I have pinned the vine in place and it is ready to be basted. I like to baste everything in place, then my applique is ready to travel with me to meetings, appointments or visits with friends. Since flowers and buds are covering sections of the vine, it is not necessary to have a continuous vine.
Vine Tutorial
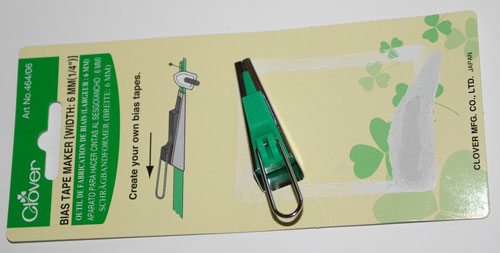
There are many different ways to make a vine or stem, but I discovered this little tool from Clover that makes it really quick and easy. It is their Bias Tape Maker 6mm (1/4″). These come in five widths (1/4″-2″). Since I make 1/4″ wide stems or vines most of the time, I thought this would be a handy tool. You can even use it to make 1/8″ wide stems, which I will show you at the end.
Clover Bias Tape Maker Here is how it works. With the Clover Bias Maker 6mm, cut a bias strip 1/2″ wide. It can be as long as you wish, but if you have to join strips, the seams don’t go through the tool that well.
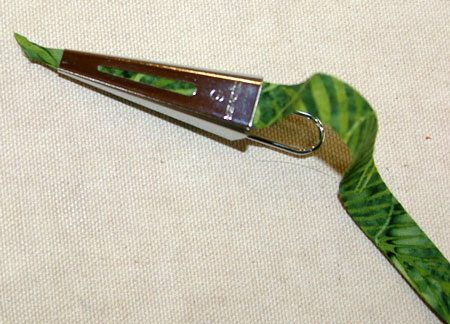
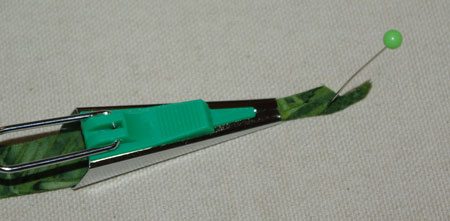
Feed it through one end and press with an iron, as it emerges, at the other end. The folds are made as it passes through the tool and are pressed. I found that batik makes the best bias vines, as looser weaves of fabric don’t hold their folds as well. You can pass a damply starched piece through, but it stretches easily, because it is wet.
Sticking a pin in the end holds it as you pull the tool away from the iron.
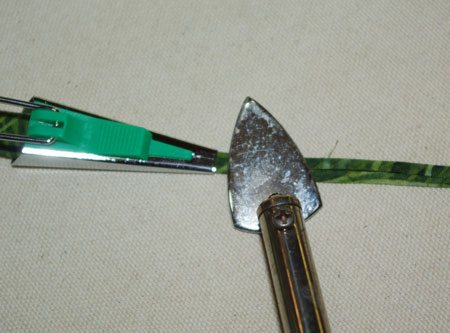
Press with the iron, I like my little Clover Iron, it works well with the way I prepare my applique with starch. I will blog about that next time. Mmmm, sounds like I am advertising for Clover, not! However, if a company has a tool I like, I don’t mind telling you about it.
This is how you can make narrow 1/8″ wide stems with it. Trim away one fold, then simply fold the remaining pressed piece in half, pressing it again. Perfect for tiny tendrils.
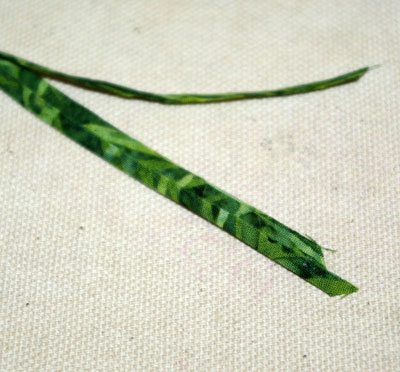
Trim away one fold, to lessen the bulk. Then fold again, instead of four layers, you will only have three. For something so small you really don’t need all that bulk.
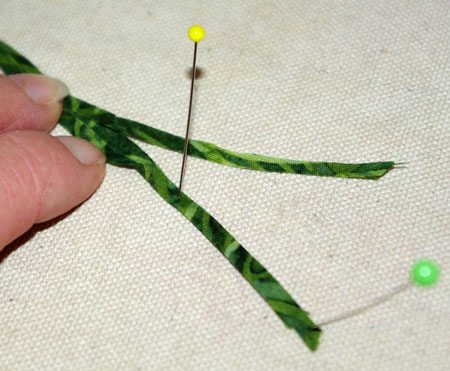
Last fold over. I am holding it open, beyond the yellow pin, so you can see how it is folded.
Let me know what you think!
Tags: appliqué, bias, block-of-the-month, Clover Bias Tool, stems, tutorial, vines


Thanks for this tip on making the 1/8th inch bias, I too use the bias making tool and have it in a few different widths. I just came across your site and want to encourage you to continue with it. Your tips and photos are very good.
Thank you! I am delighted that you like this technique.