-
Zoe’s Quilt Part 2
- Posted on June 15, 2013
- by bdieges
- in Blog
- No Comments.
Are you asking yourself where is Part 1? That is where I showed you the quilt top, although I did not call it part 1. This post is showing you how I basted it and am now quilting it. Have you ever used flannel as the backing of a quilt? She wanted a cozy quilt, so I figured this would be the best way to achieve that goal.
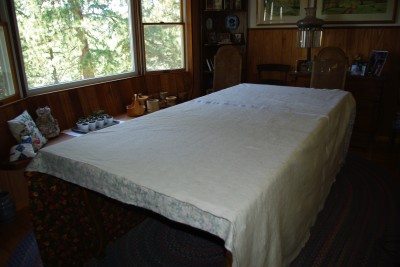
I use my dining room table for basting quilts. It works even for larger quilts than this one, since it extends up to 140″.
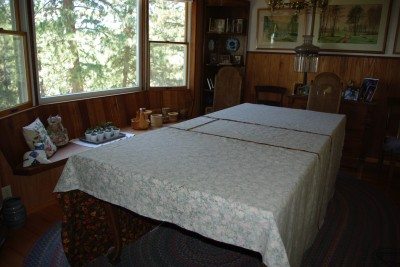
Center the backing on the table. Make sure that you protect the surface in some way. I have protective mats for the table, didn’t realize how much I would use them for non-dining purposes!
Center the backing on the table, with everything hanging off of both sides. I guess you could do it on a smaller table and have it hanging off of the ends, as well. I do not stretch the back or front of the quilt, you can if you wish, but then you have to stretch BOTH, not just one or the other. It seems to work for me and I don’t get pleats in the back. Why it works, I don’t know, because everyone else seems to stretch the fabric and that works for them! So I am not telling you, not to stretch the two outer layers, I am just saying this works for me.
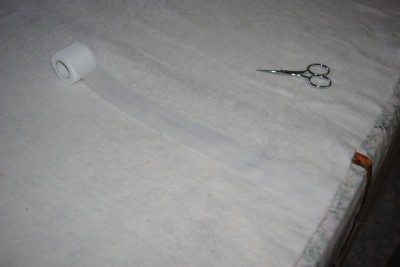
If you have to piece the batting, I found this iron on fusible at Debbie’s Fabrics, Etc. Shop. It worked like a charm and was a lot easier to apply than trying to whip stitch the two edges together of two huge pieces, by hand or machine. Since the protective mats take heat, I could press it right on the table!
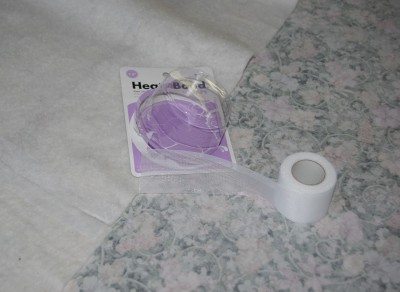
Batting Tape Then center the batting on the backing.
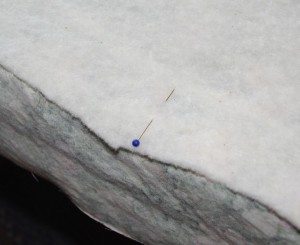
Mark the center in both directions, I use straight pins. You could make a little mark with indelible pen.
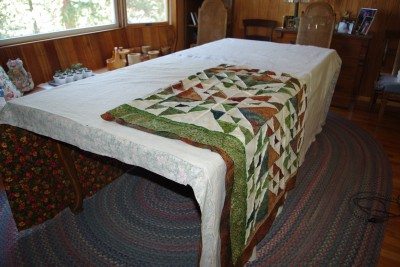
Fold the quilt top in quarters right sides together. Place the folded quilt on the table using the center marks for placement. Unfold the quilt. If you used pins to mark, don’t forget to remove them as you unfold the quilt.
Baste the quilt with safety pins. I would have used straight pins and Pin-moors, but my order for those came after I was finished basting.
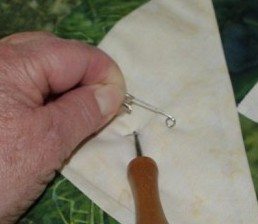
I use an old rug hooking tool to help me with closing the pins. I put a bunch of pins in place and then go back with the tool to close them. I know there is an actual tool made for this purpose, but this is what I use.
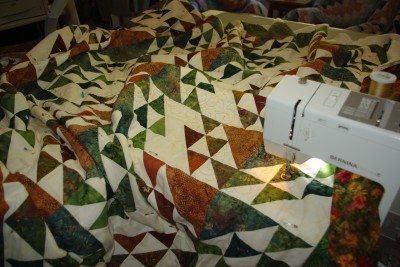
When the center of the quilt is basted, I slide the whole thing to one side or the other and pin the rest. Here it is partially quilted. I have to really work on slowing down my hands to get small stitches. I have the machine going full throttle, but I need to remember that my hands must go slow! Maybe by the time I get the whole thing done, I will get that concept.
I hope I get it done in the next few days, although I don’t hold out much hope. Another niece is coming to visit this week, so that means getting the house ready for guests! Probably the rest of you have your house in that condition permanently, but I don’t!
Tags: backing, batting, machine quilting, quilt basting
If you enjoyed this article please consider sharing it!

