
-
Quilting, Cooking and Blogging
I came across this list as I was cleaning up my desk. When I traveled the country lecturing and teaching I shared the following thoughts, ideas, concepts or whatever you want to call them with my audiences. Thought it would be fun to share these ideas with you for the new year. You might want to incorporate them into your quilting/crafting life:
- Don’t be afraid to try something new.
- Do your own thing–experiment.
- Practice is a four letter word–W-O-R-K!
- Carry some handwork with you to work on when you have to do some sitting, in an airport, appointments, picking up children from school, meetings, etc. It is amazing how much can be accomplished while you are waiting.
************************************
Mary H. has shared another of her UFOs. What a great use of border fabric. I have avoided it in the past, maybe I need to rethink that.

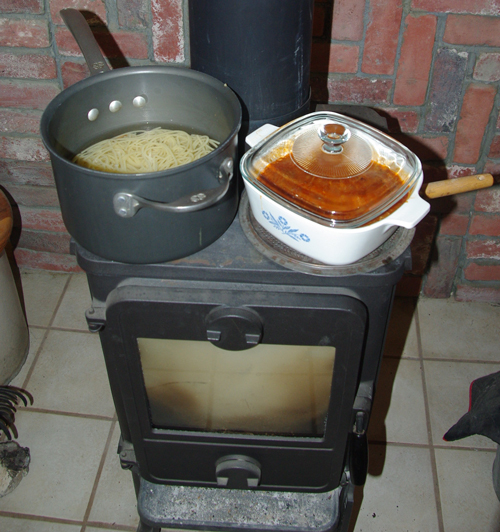
In winters past, I have used our main woodstove in the living room, occasionally for cooking, but usually plan ahead to do so. I also have a small woodstove in my studio. Just recently I had one of those aha moments when I put on some water to boil, “Don’t just boil water, make dinner!” My studio is only 10 steps or so away from the kitchen so that isn’t an issue.
We were having spaghetti and meat sauce that night. The sauce was already prepared and in the freezer. All I had to do is boil water for the spaghetti, put the sauce in a Corningware dish to heat on the stove, and make a salad.
 In the meantime, I could work on my granddaughter’s pink quilt, as well as write this blog! Love it when I can multitask.
 A few days later I made a Scrumptious Soup with the ham bone leftover from Thanksgiving.
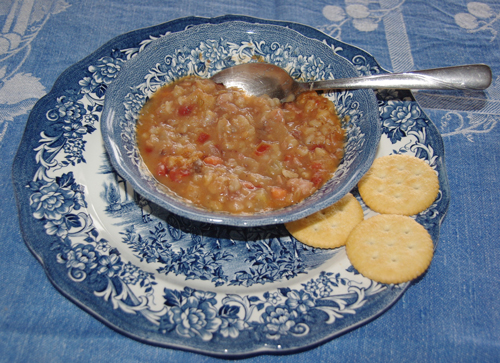 Took three cups of homemade chicken broth from the freezer and added enough water to cover the bone. The first time I made it, I was thinking of using canned diced tomatoes, but I didn’t have any. However, I did have two Roma tomatoes, so I seeded and diced those. Didn’t bother to peel, figured they were small enough pieces. Served it with Ritz cracker’s that I also had on hand. The second time I made it I used canned mini diced tomatoes and a ham hock from the market.
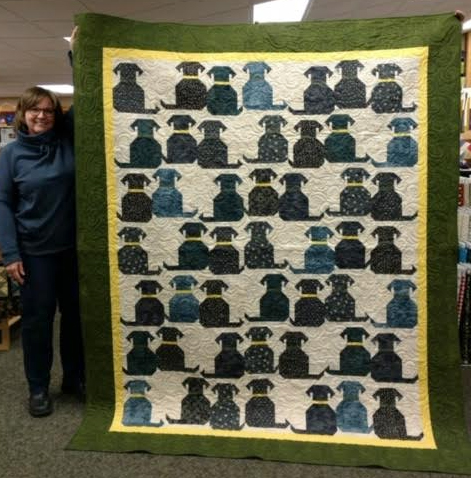
Here is another sharing of Waggly Tails. You are probably tired of seeing quilts with those puppies, but it is a big boost to my mood when I get pictures of items made from my patterns. Sort of like seeing pictures of your grandchildren. I know poor analogy! Thank you, Susan!!
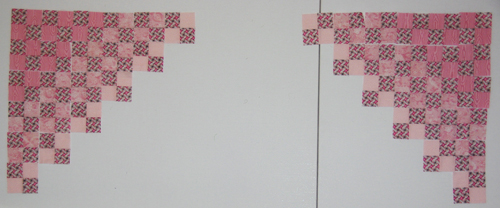
The four corners of my granddaughter’s first pink quilt are all cut and patched from 2-1/2″ strip units. They will be sewed with partial seams to get them all lined up and so they don’t get out of place. The center blocks will take more time. Those are also 4″ finished blocks. As I started putting the Four Patches together after cutting the units, I suddenly realized I had to sew two sets of corners in one direction and the other two in the opposite direction. Of course, the easiest way is to sew with the seam allowance facing the foot to get a nice seam joining of seams.
 Since I wanted the same fabric in all four outer corners, I needed to change direction. The way the seams are pressed is also important when it comes to sewing the patches together so that the seam allowances are opposing each other and not going in all directions on the back!
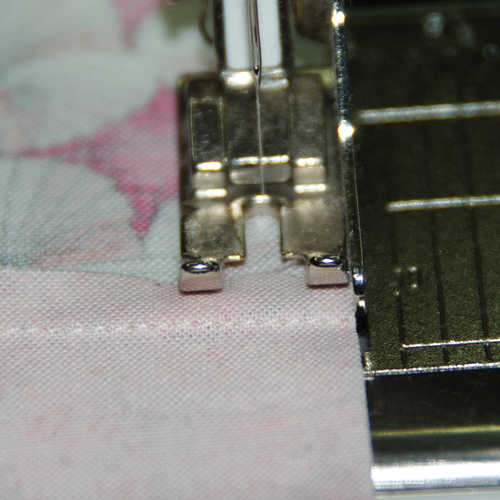
Here is my favorite way of making sure the seam joining comes together when you have to sew with the seam allowance facing away from the foot.
- First, make sure the seam allowances nestle together.
- From the front, put a pin through the top seam allowance with the point toward the foot and out to the side in the seam allowance, to prevent the needle from hitting it. The pin will be under the right side of the foot.
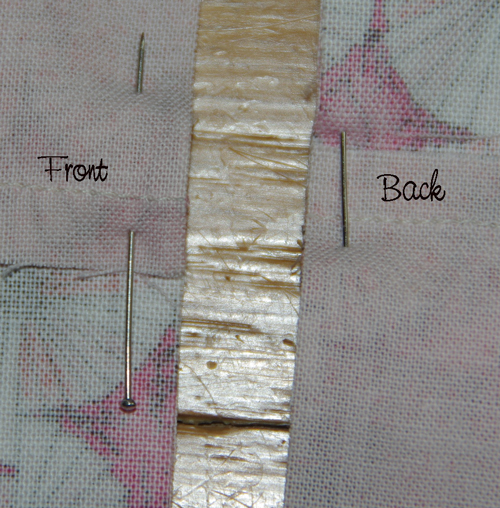
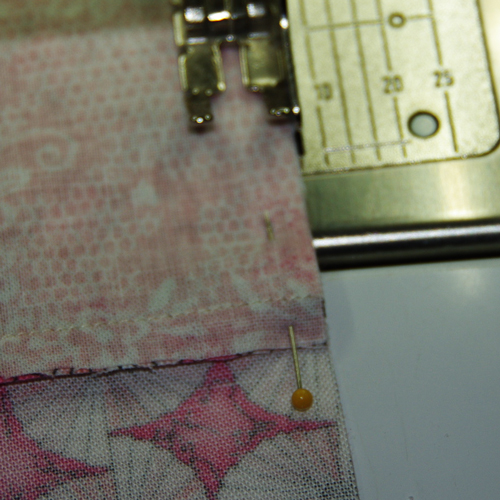
- Then push the pin out on the opposite side, so it holds the bottom seam allowance in place and doesn’t allow the feed dogs to flip it. That can be a problem when sewing across seam allowances. As you approach the seam, start pulling the pin out, but don’t remove it until the needle has penetrated the bottom seam allowance. Once it does you can pull it out completely.

Tags: appliqué, block-of-the-month, Electric Quilt


Good words. I pushed myself to try something new. This past year I made a primitive quilt. The pattern wasn’t available, so for maybe a third of the blocks I had to come up with my own pattern – never done that before. Some blocks I just didn’t like. Those I invented from scratch. I learned quite a bit doing the quilt. We have ham for NYD. I’ll be making split pea soup later on in the week. Happy New Year!
Thank you! Split Pea soup would be another great one to make. Always interesting to try something on our own.