
-
Punch Happy
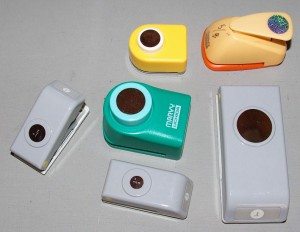
No, the title doesn’t mean I’m still at the holiday punch, it just means I like using paper punches as a tool for appliqué. Since I use many circles for my appliquéd flowers, I thought I would share this technique with you. With so many scrapbook aficionados out there, different sized paper punches are very popular. These punches work perfectly to make appliqué templates.
As I cut out the petal and leaf templates, it isn’t as critical to be absolutely perfect, but I want my circles to be circles! I just can’t get a nice even circle, cutting with scissors. When it comes to cutting out circles, I end up with jagged edges, when I try smoothing them out, I get something resembling an oval. Paper punches cut perfect circles and I have them in sizes from 1/4″ to 1-1/2″ just no 7/8″!
If you are wondering where I have found them, mostly by watching for scrapbooking sales at Hobby Lobby, Joanne’s, Michael’s or googling the size I want on the internet. Since these are not in heavy use, I have not purchased the most expensive ones.
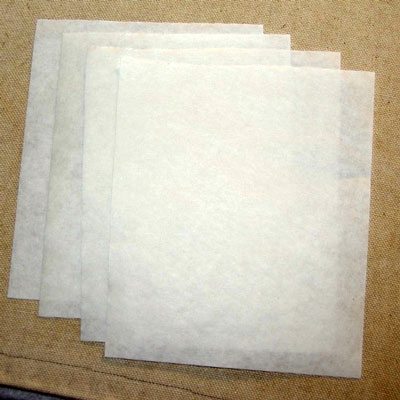
To make the templates, stack four layers of freezer paper, shiny side down and iron them together.
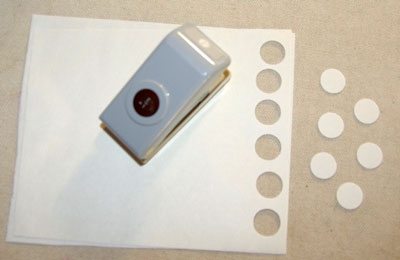
Punch away for perfect circles, without tedious cutting. Use this freezer paper thickness for scissor cut circles, too. The reason to use freezer paper instead of template plastic or thick paper is that the freezer paper is ironed to the fabric, sticking enough that you can gather the fabric around it!
So how do I use these punched circles? Even if you cut your circles with scissors, the following method is the same.
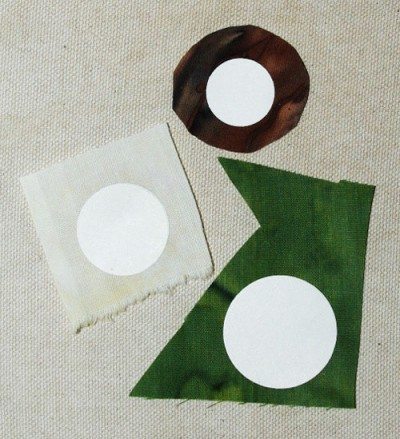
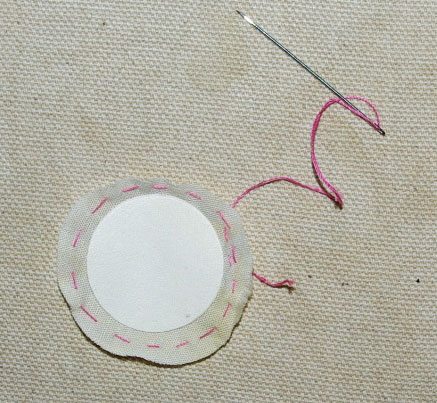
- Press the paper circle to the wrong side of the fabric. Cut around the circle, leaving about a 1/4″-3/8″ seam allowance. That brown circle is going to be made smaller!
- Sew a gathering stitch around the edge, starting with a knot on what should be the “front” of the fabric. The knot will end up on the top when gathered.
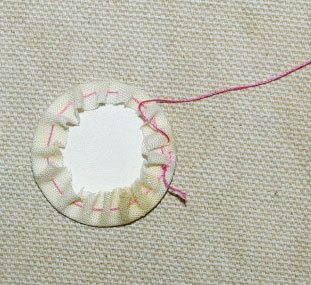
- Stitch all the way around and past the beginning point, but don’t sew through the gathering thread or knot. End on the “front,” same side as the knot.
- Pull the thread to gather the fabric around the paper circle.
- Dampen the gathers, slightly, no reason to soak it, with starch or fabric sizing or Mary Ellen’s Best Press.
- Press with a hot iron for a few seconds.
- Let cool/dry.
- Snip the knot or a stitch of thread in the gathers. The thread can be removed, but doesn’t matter if it is left in the fabric. Most of the time, I don’t bother with removing it, but this pink thread might show through the fabric, so I pulled it out.
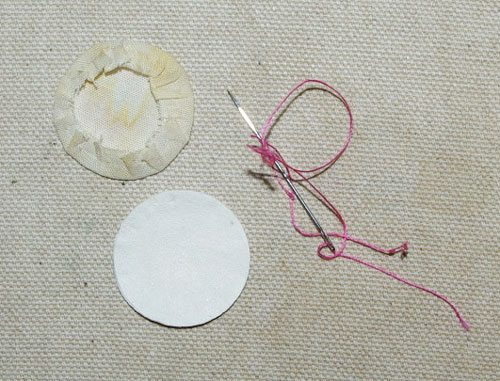
- Open the gathers and remove the paper circle. The gathers will hold forever, or at least for a very long time!
- The paper circle can be used again until the edges wear out, or doesn’t stick to the fabric when you iron it.
- Press the gathered fabric circle once again.
Wasn’t that easy? Your fabric circle is now ready to be appliquéd.
Tags: appliqué, batik, block-of-the-month, BOM, fabric, paper punch, starch, tutorial
- Press the paper circle to the wrong side of the fabric. Cut around the circle, leaving about a 1/4″-3/8″ seam allowance. That brown circle is going to be made smaller!


Thank you Barbara what a neat idea.
Warm hugs,
Ruthie
I am always on the lookout for ways to make things easier.