Lavender Sachets Tutorial
Here is my contribution to the Scrap Busting Blog Hop. Thanks, Mel, (Mel’s Quilting Room) for asking me to join! You may not use a lot of scraps for one sachet, but I found it is like eating peanuts, you can’t make just one! Also if you want to make them bigger that isn’t a problem, just make the squares bigger.
I made these as Christmas gifts for my prayer group. Every year we exchange small gifts, usually something we make for each other. So I thought I would post this tutorial for you. They don’t take long, use up scraps of fabric and there is only a tiny bit of handwork to finish them off.
I gathered the lavender last summer, planning to use it for sachets, but hadn’t decided what the sachet was going to look like until now. Three bushes gave me about four quarts.
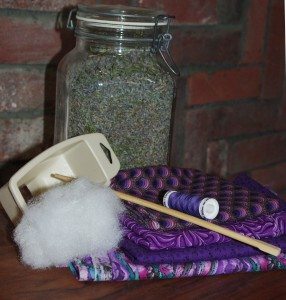
I could have used many different fabrics, but since I was using lavender, I thought purple would be appropriate. Here are the tools and ingredients you need to make a 3″ or so sachet. Or forget the lavender and stuff them with wool batting, to use for a pincushion. Why use wool? It has enough oil in it to keep pins from rusting.
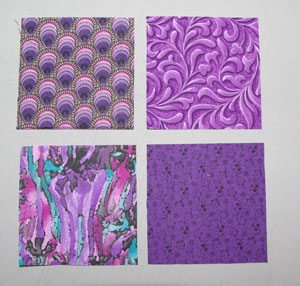
- Four different cotton prints.
- 1/2 cup of dried lavender.
- A handful of polyester or cotton stuffing to finish the sachet.
- Funnel with a large opening. The opening on my funnel is about 3/4″, although you could use a smaller one, but it might clog. The top cut-off of a water bottle makes a great funnel!
- Sewing machine, with 1/4″ foot.
- Thread matching the fabric.
- Chopstick, for turning the patchwork and stuffing.
- Hand sewing needle to sew the opening closed.
Here are the directions:
Cut FOUR 3″ squares, one from each print.
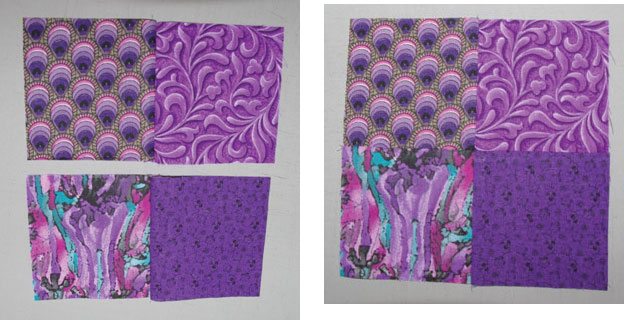
Assemble them by sewing two squares together.
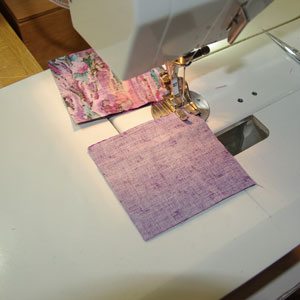
Press open and sew the squares together as a Four Patch.
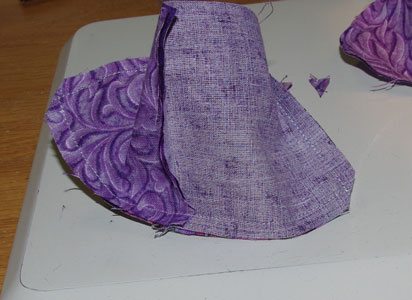
Now fold the sewn patchwork in half, so you have a rectangle and sew across the short ends. Backstitch at the beginning and end of the seams.
Bring the two seams together, and pin so the seam allowances are opposing.
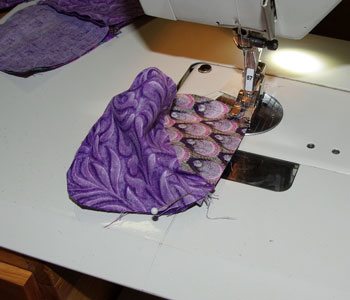
Sew from one end, beginning and stopping about half way to the center seam with a backstitch. Turn the unit around and repeat from the other end. Leave a large enough opening in the center for the funnel.
Diagonally trim off the corners, to lessen the bulk, be careful not to clip the seams.
Turn inside out, gently push out the corners. I use a chopstick for this purpose.
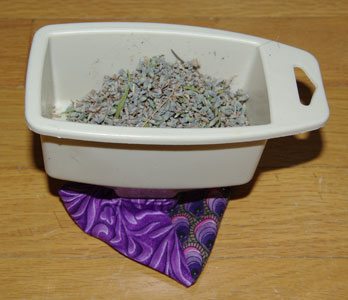
Insert funnel in opening and pour in lavender. The picture shows it sitting on the table, I had to take the pictureat the same time! However, you have to hold it up, so the lavender will drop into the sachet. Hold the sachet and funnel together, with one hand and gently push the lavender in with the chopstick with the other hand. This took a little bit of doing, but I got the hang of it. You will understand when you actually do it.
Place small amount of stuffing on top of the lavender. This accomplishes two purposes, it adds a little more fullness to the sachet and it keeps the lavender from falling out while you are sewing it together.
Hand stitch the opening closed.
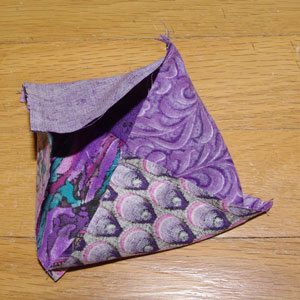
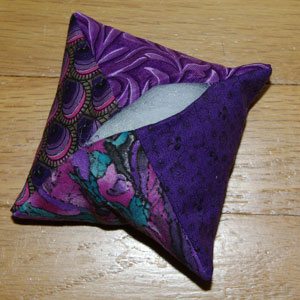
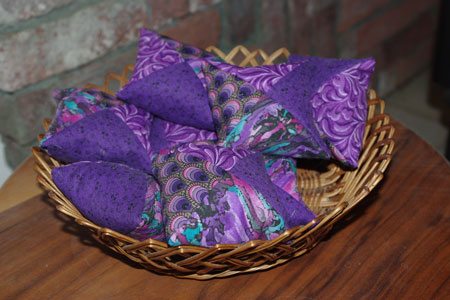
All finished, they smell wonderful!



thank you for this tutorial, I planted some lavender last year, hopefully, it will come up this year and I can make some of these. I like to put them under my pillow for a calming effect.
Sorry, I didn’t get a notification of your comment for some reason. Yes, I understand Lavendar to be calming. My daughter uses it in her daughter’s night time bath water!
If I could ever grow lavender this would for sure be a quick and easy way to use up a lot of scraps.
Very definitely. I don’t have any here where we moved and need to get some into the ground this spring. I keep the container on the bathroom counter, and it smells so good to shake it up a bit, then open it!