
Bias or Diagonal Knitting
Many years ago my friend Ann showed me how to make cotton dishcloths knit on the bias or diagonal. The basic technique below makes a Bias Knit Dishcloth about 7-8″ square. Once you get the idea of how it is done you can use other yarns and different size needles to make different items, that can also be rectangular!
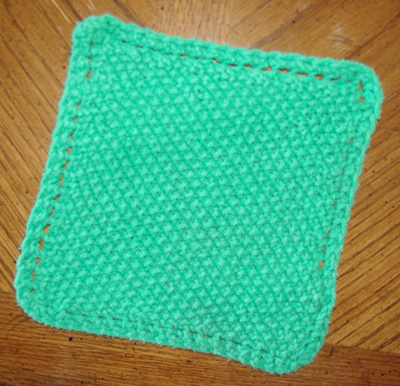
BIAS KNIT DISHCLOTH
- Use #9 needles and “Peaches ‘N Cream” or other suitable 100% cotton yarn.
- Cast on 3 stitches, using your favorite method.
- First Row: Slip 1, Knit 1, Yarn Over (YO), knit to end.
- Repeat with each row until there are 40 stitches.
- Next row to decrease: Slip 1, Knit 1, YO, Slip 1, K2tog, loop the slipped stitch over the K2tog stitch, knit to end of row.
- Continue until 3 stitches remain.
- Bind off.
*************************
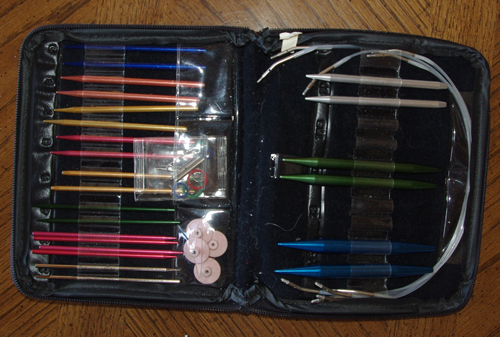
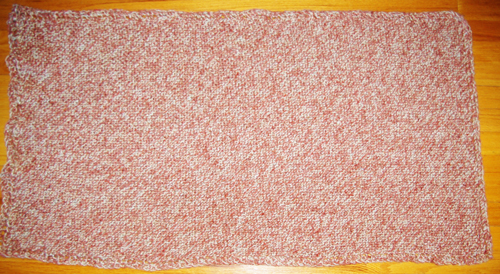
These throws were knit from DK and worsted wool yarn using a #10-1/2 needle. I have a set of Boye Needlemaster knitting needles, allowing the needle length to be extended, so you can knit some really big throws.
 The length was about 48″ for these throws. If the yarn in this looks familiar, I unknitted the vest I was experimenting with to make it. For some reason, when it is knit on the diagonal the throw feels very snuggly. It works much better as a throw than a vest!
![]()
![]()
Years ago a friend gave me a bag of these two wool yarns, each about the weight of fingering yarn, because she thought she would like to learn how to knit. However, she came to the conclusion it wasn’t her thing.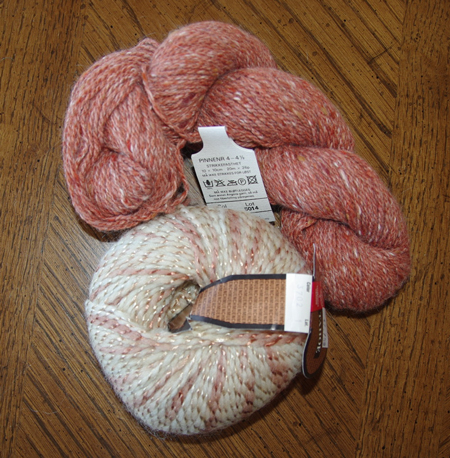
I like the look of the lacy edge so that is why I decided to use this technique. That way all the edges are the same, which they are not when you knit a rectangle in the normal way.
BIAS KNIT SHRUG
- How large should you make the rectangle? You need a measuring tape and some help to measure.
- Sit down in a chair. Measure from the top of your neck to where you are sitting. That was 26″ for me. That is the width of the rectangle.
- Then measure across your back with your arms outstretched just past the elbow to the same area on the other arm. That is the length of the rectangle. That was 40″ for me, but I increased it by 2″ for 42″.
- I used #12 needles and two strands of the wool yarn. I tried it with #10 needles but it was too tightly knit. So you may have to play with your yarn and needles to get the texture you prefer.
KNITTING THE RECTANGLE
- Cast on 3 stitches, using your favorite method.
- First Row: Slip 1, Knit 1, Yarn Over (YO), knit to end.
- Repeat with each row until one side measures the width of the rectangle.
- Next row to start the rectangle: Slip 1, Knit 1, YO, Slip 1, K2tog, loop the slipped stitch over the K2tog stitch, Knit to end of row. This side will now decrease at the beginning of each row.
- —I placed a marker on the decreasing edge as a reminder that I had to decrease!
- Following row: At the beginning of this row, you continue to INCREASE: Slip 1, Knit 1, Yarn Over (YO), knit to end.
- Repeat these two rows until the long side measures the length of the rectangle. Remember every other row decreases and every other row increases.
- When you reach the length of the rectangle, start decreasing at the beginning of ALL the rows!
- Continue until 3 stitches remain.
- Bind off.
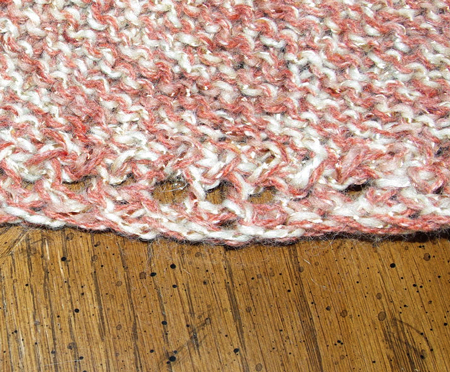
 Fold the rectangle in half lengthwise and sew the edges together starting at the corner and stopping about halfway or 5-6″ from the fold. Repeat on the other side.
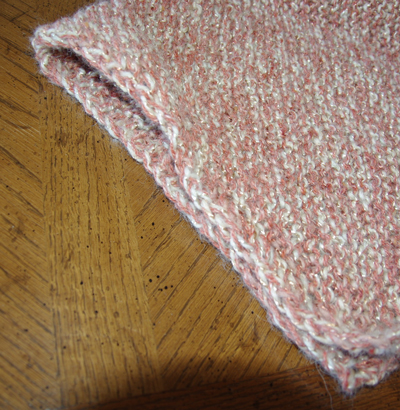
This is the look you will get.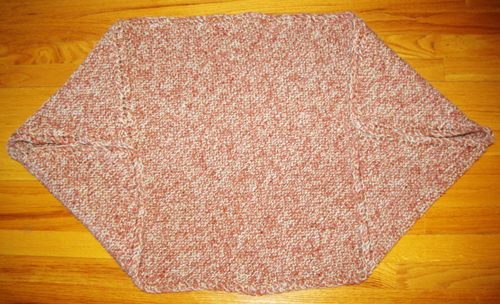
Slip your arms into the armholes and snuggle up!
