-
Cutting Squares
- Posted on December 21, 2015
- by bdieges
- in Blog
- No Comments.
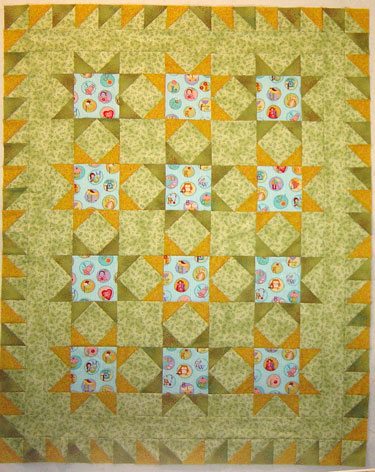
 This is one of two baby quilts I made for my grand niece and granddaughter, based on my I SPY quilt pattern. Looks like a lot of triangles doesn’t it? Not a single triangle is harmed with my Sewfasst® techniques, just squares cut in two different sizes. Sew and cut, press and sew and cut again, and wind up with Bonus Pieced Triangles to use for the border.
With my Sewfasst®techniques, the process moves along a little more quickly, so I try to use them as often as possible, but they do involve cutting a lot of strips and squares. I don’t know how you cut squares, but I finally realized I could streamline my method and it works very well. You may all be doing it this way already, but if not, you might want to try it.

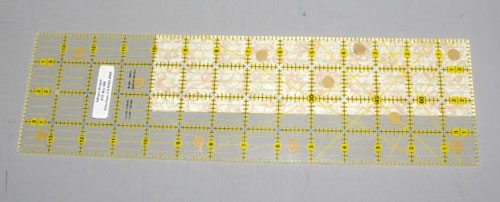
First, cut the strips to the width needed. Then multiply the amount of the square, for example, 2-1/2″ by 2 and then by 3, if your ruler is long enough, and the square isn’t too large, you can probably multiply by 4 and 5. Write down the numbers on a piece of paper, don’t try and memorize, because if you are like me, you will just confuse yourself. You could mark the amounts on your ruler, with tape, but unless you use those same sizes over and over, you will have to move the tape.
If you have two strips, keep them folded just as you cut them. Trim off the selvage. Align the edges carefully, so you have four layers. Align the ruler with the last number you multiplied by and trim the strip to that length. Now move the ruler in increments, cutting each set of squares as you go.
If you are cutting 2-1/2″ squares, fold 2-1/2″ strips in half (TWO layers), cut TWO 10″ segments, layering them on top of each other, carefully aligning the edges.

Move the ruler so one end is at the 7-1/2″ mark, cut, move ruler to the 5″ mark, cut and finally cut the last 2-1/2″ square:
- 10″
- 7-1/2″
- 5″
- 2-1/2″
 What I really like about it, is that you don’t move the squares out of the way, just move the ruler.
For the baby quilt, 3-3/8″ squares were needed. After multiplying, the increments on my 12″ ruler were:
- 10-1/8″
- 6-3/4″
- 3-3/8″
So I cut the folded strip into TWO 10-1/8″ segments, layered them and then cut the increments. I was done in no time at all, by doubling up the strips that way.
I don’t think more than four layers, is a good idea, at least for me, it doesn’t work as well. Maybe if you use that giant rotary cutter, but I don’t since it is too big for my hand.
Using the shorter length, instead of the full strip length, also made it easier to have everything aligned. Once the squares are all cut, it is time to mark and sew!
Tags: rotary cutting, Sewfasst, squares, tutorial
If you enjoyed this article please consider sharing it!


